Welcome to OliviaTech, your friendly guide in the big world of technology. Run by Olivia Speranza, we help you understand all the cool stuff about tech.
From taking great photos, making awesome vlogs, learning about lights and sounds, to the fascinating world of AI (Artificial Intelligence) and computers – we’ve got it all covered.
OliviaTech is honored to have had the opportunity to present for, as well as be highlighted by, these well-known publications.
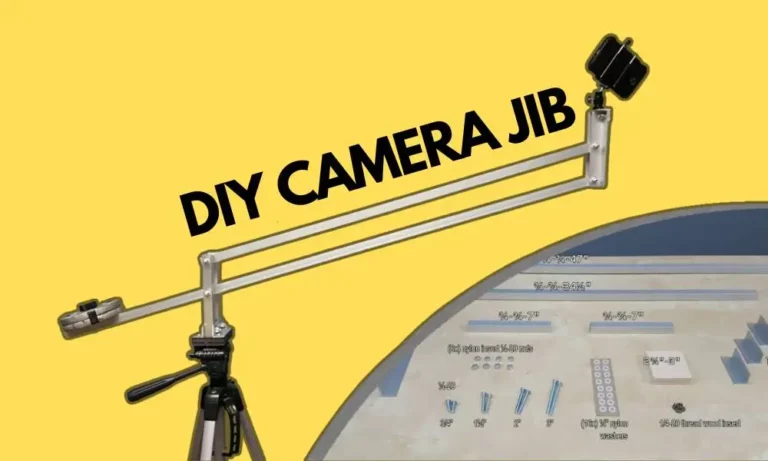
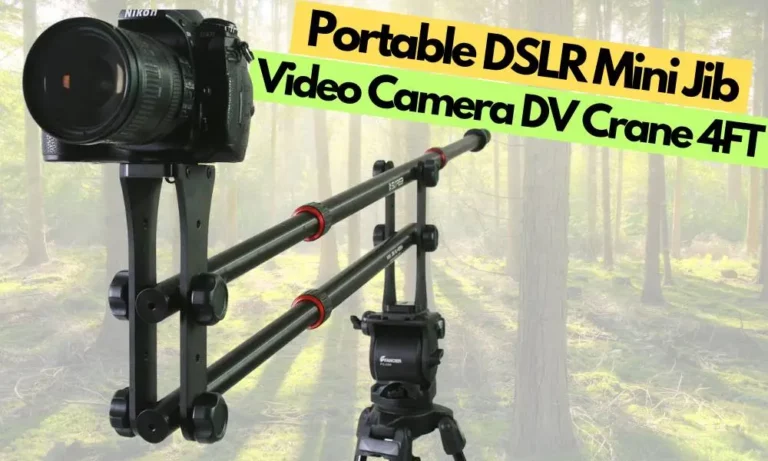
Discover the Wonders of Camera Tech
From DSLRs to mirrorless wonders, explore the realm of cameras and learn how to capture life’s moments in stunning detail.


Explore the Vibrant World of Audio
Navigate through the dynamic world of sound with our comprehensive guides, reviews, and insights on the latest audio technology.
Dive into Lighting & Accessories
Shed light on your tech world. Discover the latest in lighting and accessory trends to enhance your tech setup


Navigating the Landscape of PCs
Delve into the vast universe of PCs. We bring you reviews, tips, and insights on hardware, software, and everything in between.
Other

Smartphone Technology
Smartphones have become an integral part of our lives, offering a myriad of features beyond just making calls. Delve into the ever-evolving world of smartphone technology, where innovation knows no bounds.
Insights into the Internet
Stay connected as we delve into the core of the internet, exploring its features, security, and the technology that powers it.
Journey through Artificial Intelligence
Venture into the fascinating world of artificial intelligence with us, exploring its applications, advancements, and the impact on our lives.
Got a fresh topic idea, a partnership proposal, or a revolutionary product for review? At OliviaTech, we are constantly on the lookout for innovative collaborations that will benefit our tech-loving community.
We thrive on the exchange of ideas and the power of partnership to deliver the most cutting-edge, engaging content. Reach out to us via our Contact Page. Let’s join hands and inspire, educate, and engage the tech world together!”