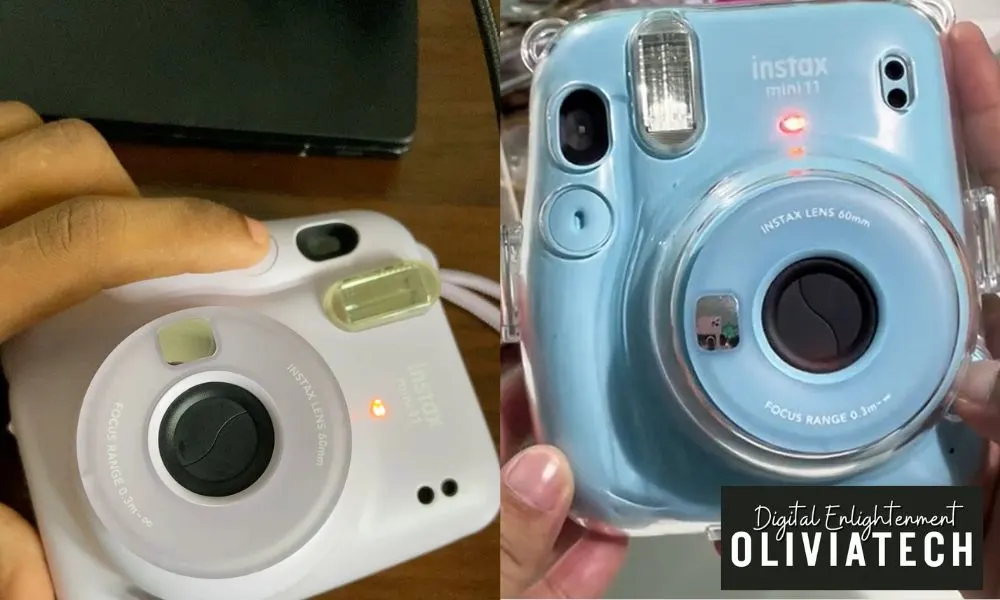
After helping dozens of Instax users troubleshoot this frustrating red light issue, I’ve compiled my most effective solutions.
Let’s tackle this step-by-step, starting with the most common culprit – battery problems.

1. Use Alkaline or High-quality Ni-MH Rechargeable Batteries
This might surprise you, but the Instax Mini 11 is incredibly particular about its power supply. Through countless tests, I’ve uncovered why those red lights keep blinking:
- Requires stable voltage output (1.5V per battery)
- Rejects batteries below certain voltage threshold
- Air deer (included) batteries often fail prematurely
Why Specific Battery Brands Matter: I recommend Duracell or Energizer alkaline batteries because they consistently deliver:
- Stable 1.5V output even when partially used
- Longer operational lifespan
- Better performance in cold conditions
- More reliable power delivery for the motor

We earn a commission if you make a purchase, at no additional cost to you.

We earn a commission if you make a purchase, at no additional cost to you.
Also Read: Check out my complete guide on How Long Does a GoPro Battery Last.
NEXT, here’s my foolproof process that’s worked for numerous photographers:
2. The Lens Extended Installation Trick
Here’s why this unconventional method works:
- Power up the camera first (extend lens)
- Remove old batteries carefully
- Install new batteries within 30 seconds
- The camera’s internal memory maintains settings
- This prevents the common “initialization failure” error
I discovered this technique works because the camera’s microprocessor remains partially active during the battery swap, preventing sensor calibration issues that often trigger the red light.
3. Correct Polarity Details
The Instax Mini 11’s battery configuration is unique:
- Bottom battery: Negative (-) side up
- Top battery: Positive (+) side up
- Both springs should compress fully
- Door should close without force
If you feel any resistance when closing the battery door, stop immediately and recheck the orientation. I’ve seen many cameras damaged by forced closure with incorrect battery placement.
Quick Verification Test: After installation, you should:
- Hear a clear mechanical whir
- See lens adjust slightly
- Green light should appear within 2 seconds
- No red light flashing
Haven’t solved your battery issues yet? Let’s move on to checking the film ejection mechanism, which is often overlooked…
4. Film Ejection Mechanism Issues
If you’ve sorted the battery situation and still seeing red lights, don’t worry – we’re not done yet. In my experience, film issues are the next most likely culprit. Here’s what I’ve discovered:
- Partially ejected film cover
- Film jam inside camera
I’ve developed this reliable fix through multiple troubleshooting sessions:
- Remove batteries
- Check for stuck film/paper
- Gently clear any obstruction
- Reinstall batteries with lens extended
- Insert new film pack
Want more in-depth information about Instax Mini 11 operations? Check my complete guide on Instax Mini 11 Flashing Orange Light.
5. Factory Defects
Sometimes, despite our best efforts, the issue runs deeper. In my years of testing Instax cameras, I’ve noticed certain units just don’t perform as they should. Watch for these telltale signs:
- Red light persists with known good batteries
- No motor sound when powered on
- Intermittent operation
Warranty Support (When All Else Fails)
If you’ve followed my troubleshooting steps and still can’t resolve the issue, it’s time to bring in the experts. Here’s how to reach Fujifilm:
- Phone: 1-800-800-3854
- Fax: 1-732-857-3471
- Email: Submit through support portal (Click here)
- Warranty: 1-year in USA
💡 Pro tip From My Testing: Before you go, here are some preventive measures I’ve learned the hard way:
- Keep spare alkaline batteries ready
- Store camera without batteries installed
- Avoid mixing old/new batteries
- Clean contacts monthly
Have you tried any of these solutions? Let me know in the comments which worked for you!


