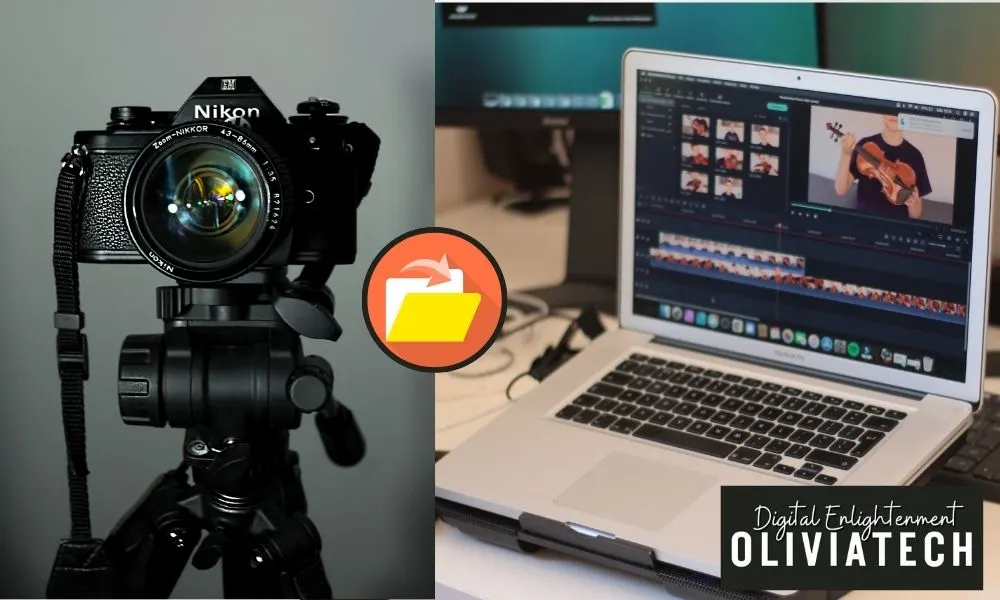
I’ll walk you through three reliable methods to transfer photos from your Nikon DSLR to your MacBook Air/Pro, based on my extensive testing with various connection options.
Important Safety Notes ⚠️
- Always ensure your camera battery is fully charged before starting any transfer
- Never disconnect cables during active file transfers
- Avoid using force when connecting/disconnecting cables
- Use only compatible card readers with your memory cards
Method 1: USB Cable Connection
💡Required Equipments
- USB-C to Micro USB cable
- Nikon NX Studio software (free)
Installation Steps
Download Nikon NX Studio
- Visit https://downloadcenter.nikonimglib.com/
- Select the macOS version
- Follow on-screen installation prompts
Connect Your Camera
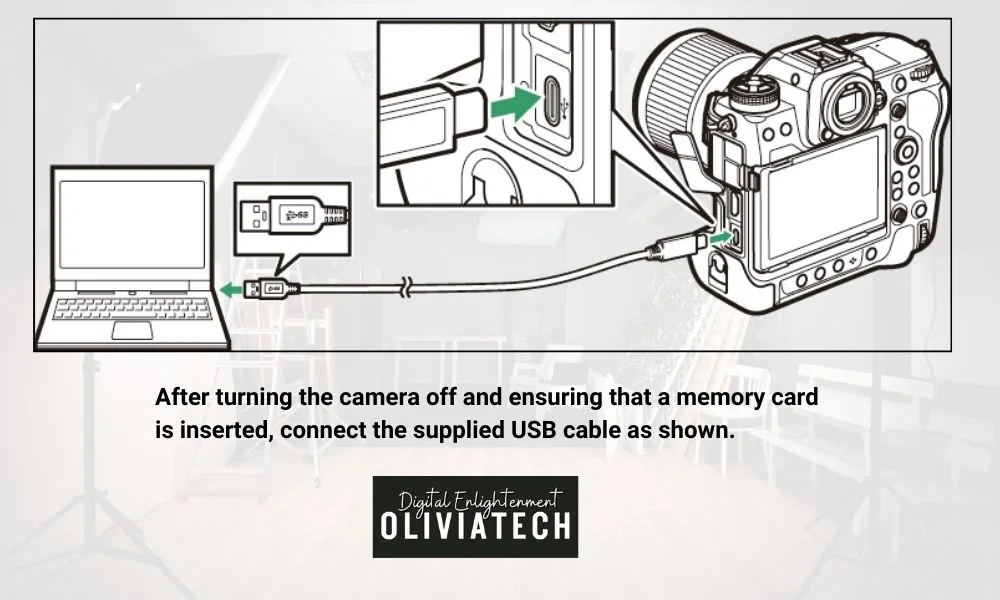
- Turn off your camera
- Insert the USB cable into both devices
- Power on your camera
Launch Transfer Software
- If AutoPlay doesn’t start automatically:
- Open NX Studio
- Click the “Import” icon
For macOS users: If needed, launch Image Capture and select Nikon Transfer 2
Transfer Files
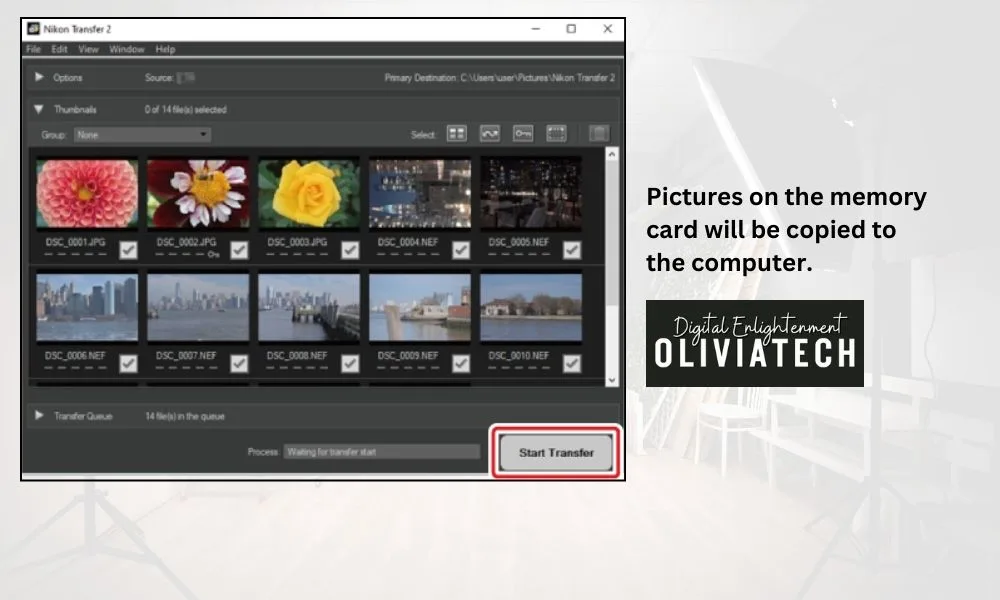
- Click “Start Transfer”
- Wait for completion
- Power off camera
- Safely disconnect cable
Method 2: Card Reader Connection
Personal Recommendation: I’ve had great success with the PGYTECH CreateMate SD Card Reader for its reliability and fast transfer speeds.
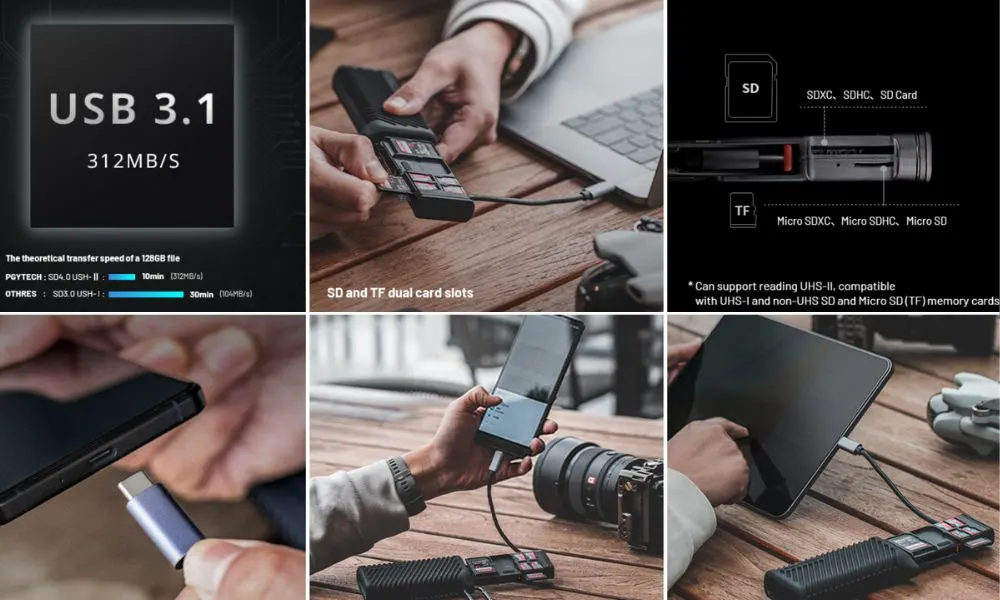
Steps
- Remove SD card from camera
- Insert into card reader
- Connect reader to MacBook’s USB-C port
- Access files directly through Finder
Method 3: Wireless Connection
Built-in Wi-Fi Options
- Direct Connection
- Access camera’s setup menu
- Select “Connect to PC”
- Follow on-screen pairing instructions
- Router Connection
- Connect camera to your local network
- Enable wireless transfer in camera settings
- Use NX Studio to detect camera
Professional Option: WT-7 Wireless Transmitter
Video Transfer Warning
Never attempt to transfer videos using cameras from different manufacturers, as this may result in data loss.
Recommended for professional workflows requiring reliable connections
- Supports Ethernet networks
- Compatible with Camera Control Pro 2
- Enables remote camera control
- Allows direct-to-computer image saving
💡Compatibility Notes
- Ensure you’re using the latest version of NX Studio
- MacBook Air/Pro must run current macOS version
- Use pre-installed USB ports only (avoid hubs)
Need any clarification on these steps? I’m happy to provide more specific details for any section.
Recommended Post:
Now that you’ve successfully transferred your photos to your MacBook Air, you might want to check out our guide on “Importing Images from Your Camera to Mac Preview” to learn how to efficiently manage and edit your transferred images using Mac’s built-in Preview app.

